Keycloak SSO with openZro Self-Hosted (Advanced)
Keycloak is an open-source Identity and Access Management solution maintained by Red Hat. It provides single sign-on, social login, user federation, fine-grained authorization, and supports OpenID Connect, OAuth 2.0, and SAML 2.0 protocols.
Standalone Setup (Advanced)
This guide wires Keycloak as openZro's only identity provider — Dex is disabled and the management daemon talks directly to Keycloak for both token validation and user lifecycle. Choose this path only if all three apply:
- Keycloak is the source of truth for user lifecycle. You want openZro to call Keycloak's admin API to list, invite, and delete users — so deleting a user in openZro removes them from Keycloak too. The recommended setup (Management Setup) only consumes tokens; it cannot write back.
- You need just one IdP, and it's Keycloak. This path doesn't support multiple upstreams — there's no Dex to aggregate them.
- You're willing to give up the bootstrap admin fallback. No embedded local user store. If Keycloak is down or misconfigured, nobody can log into the dashboard.
For everyone else — multi-IdP shops, anyone wanting a static admin fallback, or operators who only need authentication (not user lifecycle writeback) — use the Management Setup (Recommended) in the main Keycloak documentation instead.
If you prefer not to self-host an Identity and Access Management solution, you could use a managed alternative like Auth0.
Expected Result
After completing this guide, you can log in to your self-hosted openZro Dashboard and add machines to your network using the Interactive SSO Login feature over Keycloak.
Prerequisites
- Keycloak instance running with SSL
- Docker and Docker Compose for openZro
Step 1: Check Your Keycloak Instance
Ensure your Keycloak instance is available at https://YOUR-KEYCLOAK-HOST-AND-PORT with SSL enabled.
Step 2: Create a Realm
- Open the Keycloak Admin Console
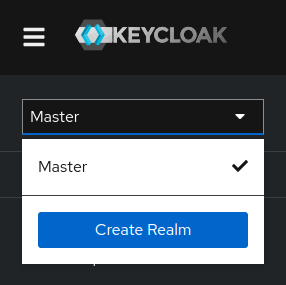
- Hover over the dropdown in the top-left corner where it says
Master - Click Create Realm
- Fill in:
- Realm name:
openzro
- Realm name:
- Click Create
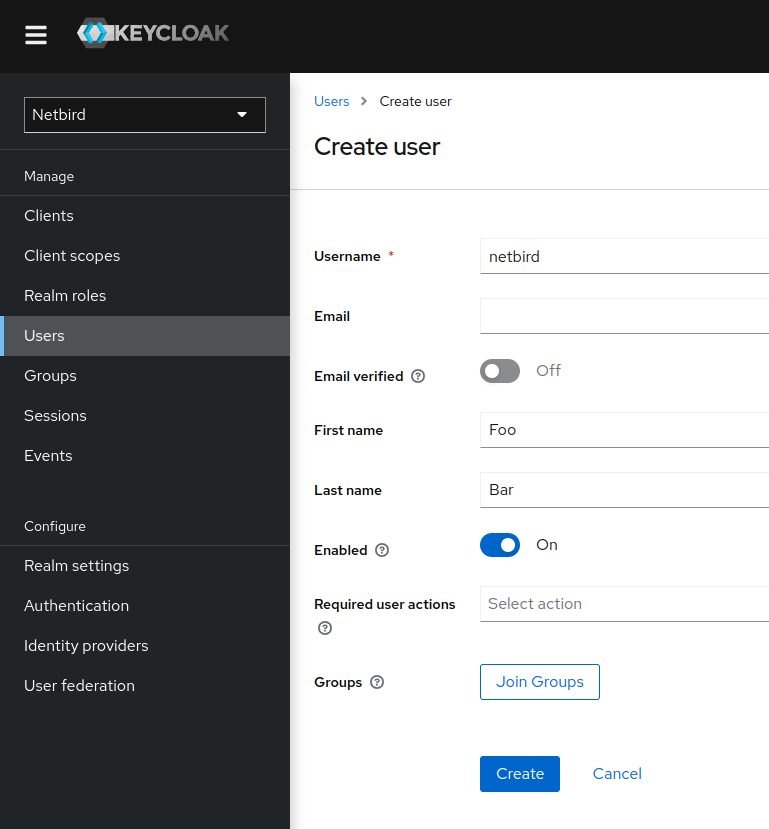
Step 3: Create a User
- Make sure the selected realm is
openzro - Click Users (left-hand menu)
- Click Create new user
- Fill in:
- Username:
openzro
- Username:
- Click Create
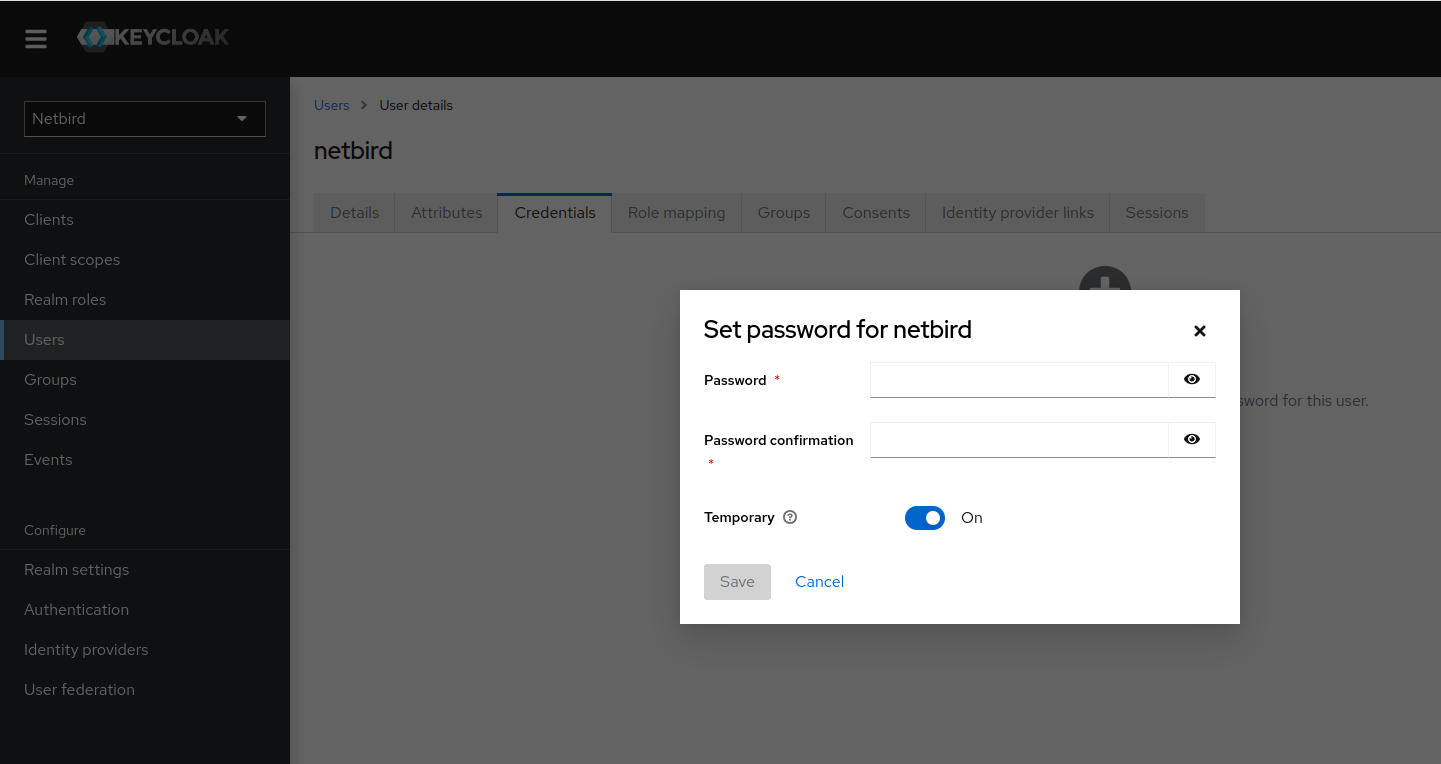
- Click Credentials tab
- Click Set password
- Fill in the password and set Temporary to
Off - Click Save
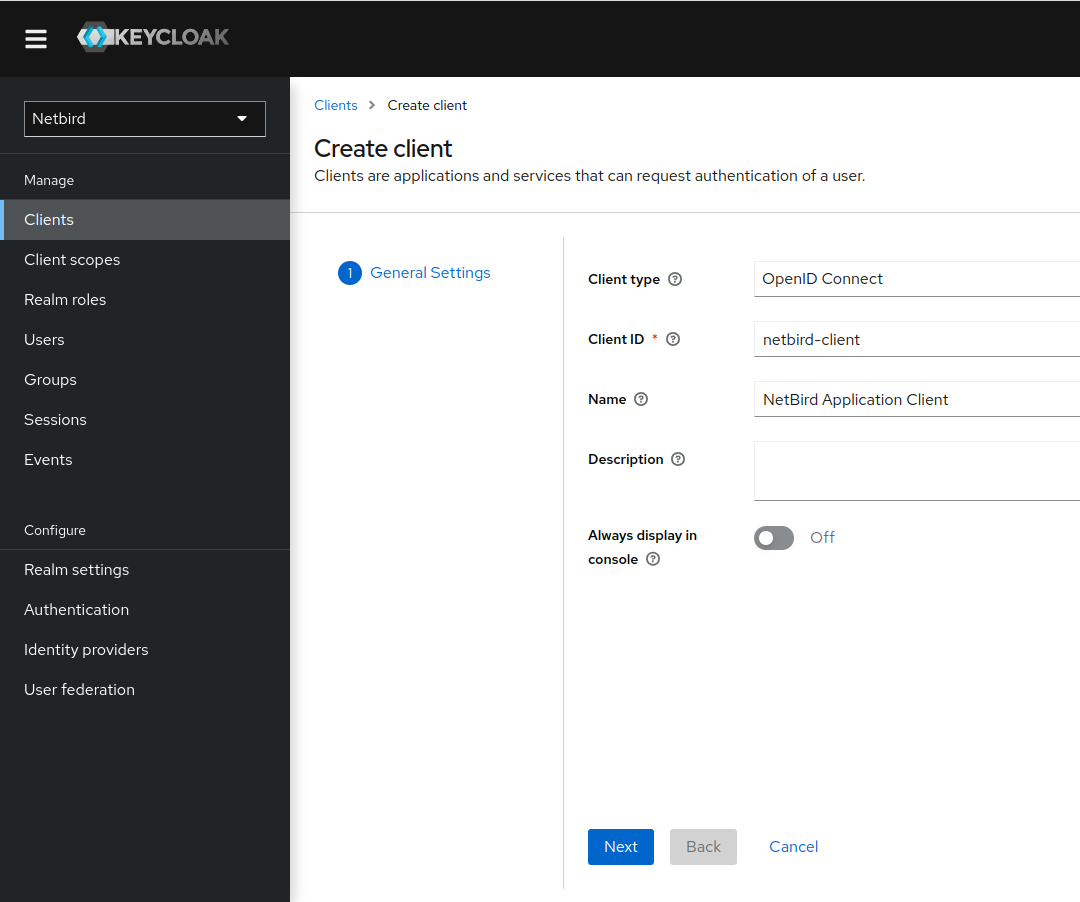
Step 4: Create openZro Client
- Click Clients → Create client
- Fill in:
- Client Type:
OpenID Connect - Client ID:
openzro-client
- Client Type:
- Click Next
- Enable the authentication options as shown:
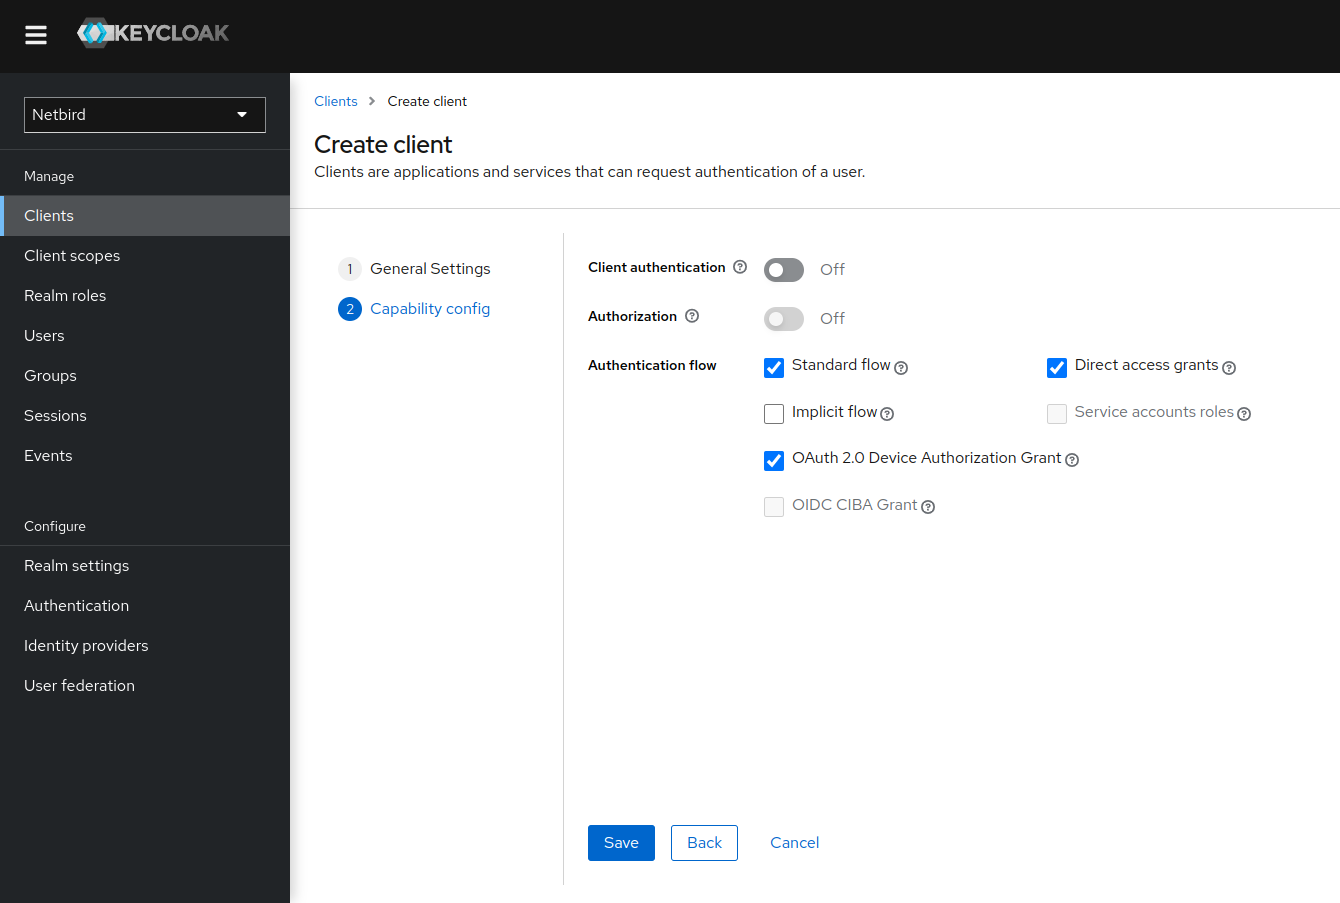
- Click Save
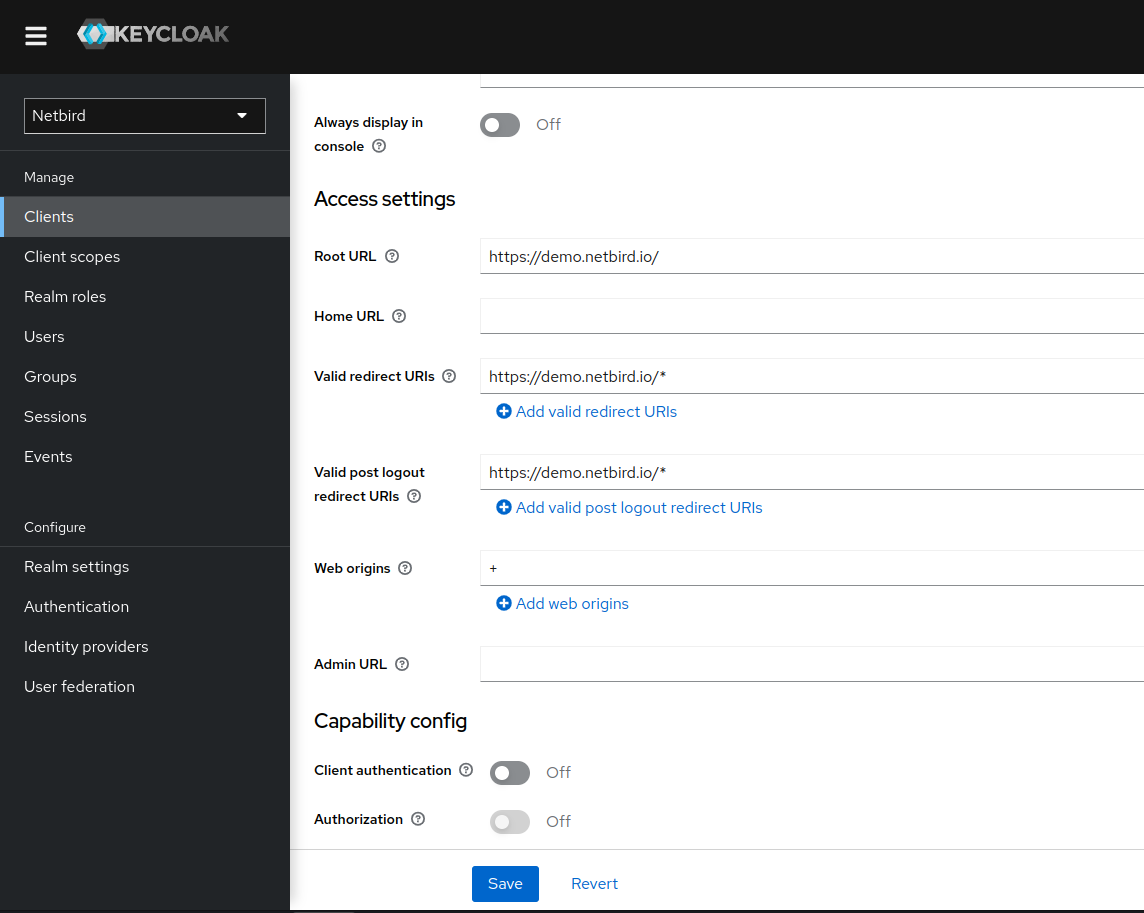
Step 5: Configure Client Access Settings
- Go to Clients → openzro-client
- In Access Settings, fill in:
- Root URL:
https://YOUR_DOMAIN/ - Valid redirect URIs:
https://YOUR_DOMAIN/*andhttp://localhost:53000 - Valid post logout redirect URIs:
https://YOUR_DOMAIN/* - Web origins:
+
- Root URL:
- Click Save
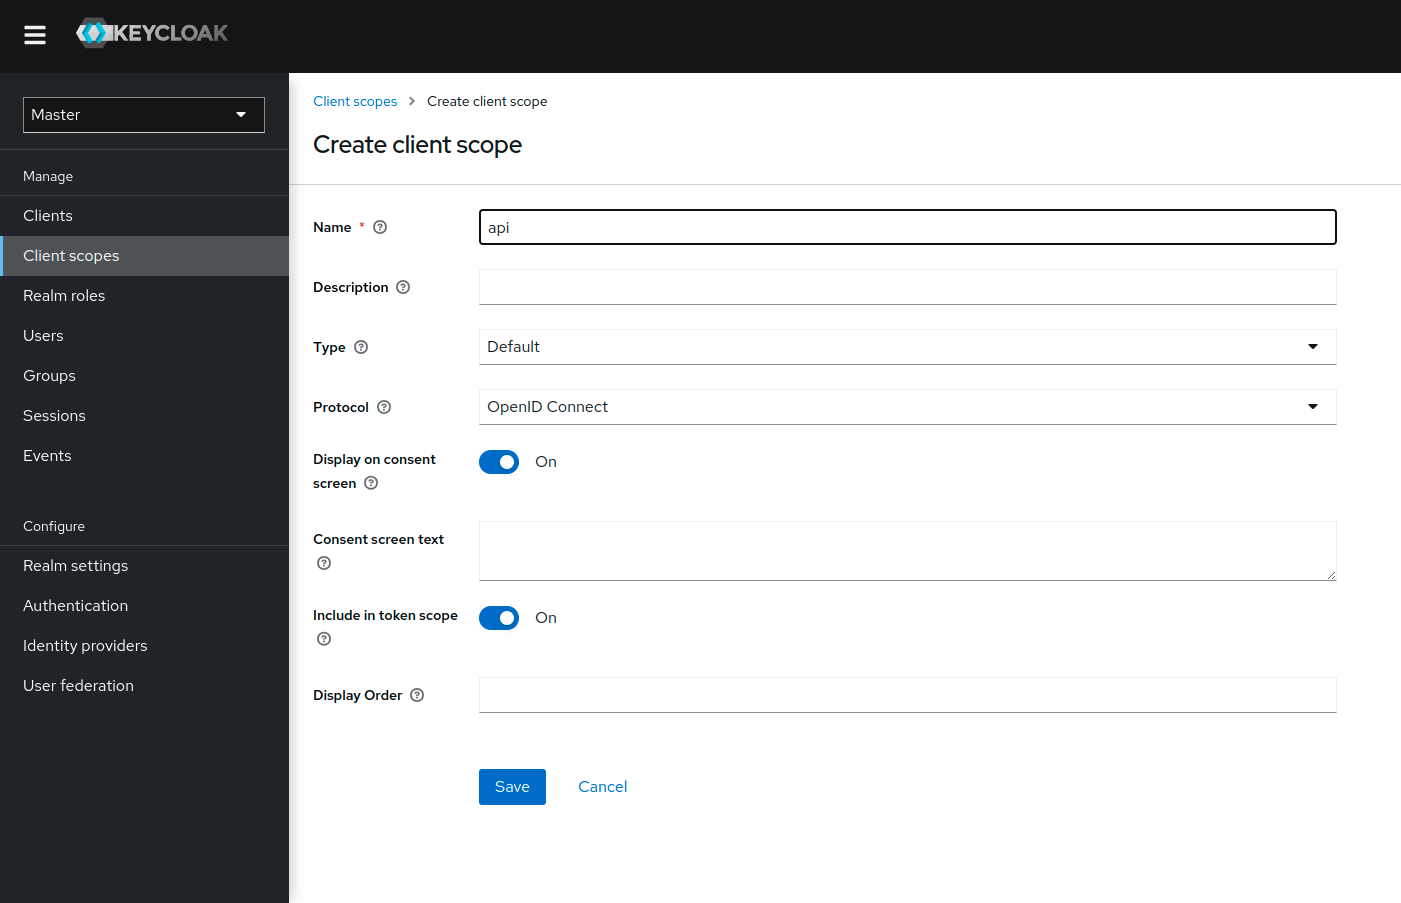
Step 6: Create Client Scope
- Click Client scopes (left-hand menu)
- Click Create client scope
- Fill in:
- Name:
api - Type:
Default - Protocol:
OpenID Connect
- Name:
- Click Save
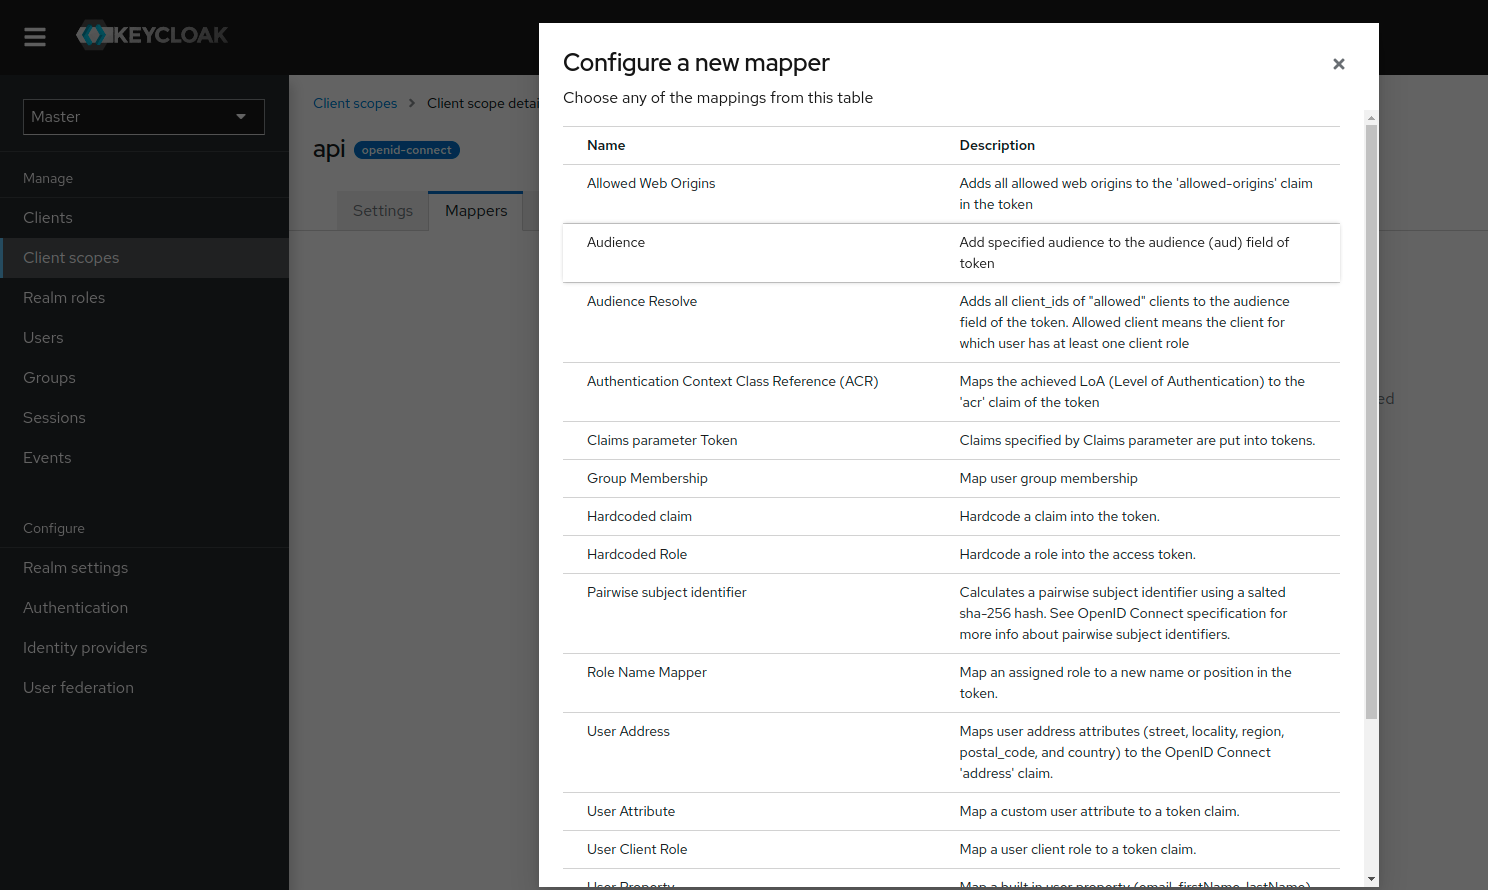
- Switch to the Mappers tab
- Click Configure a new mapper
- Choose Audience mapping
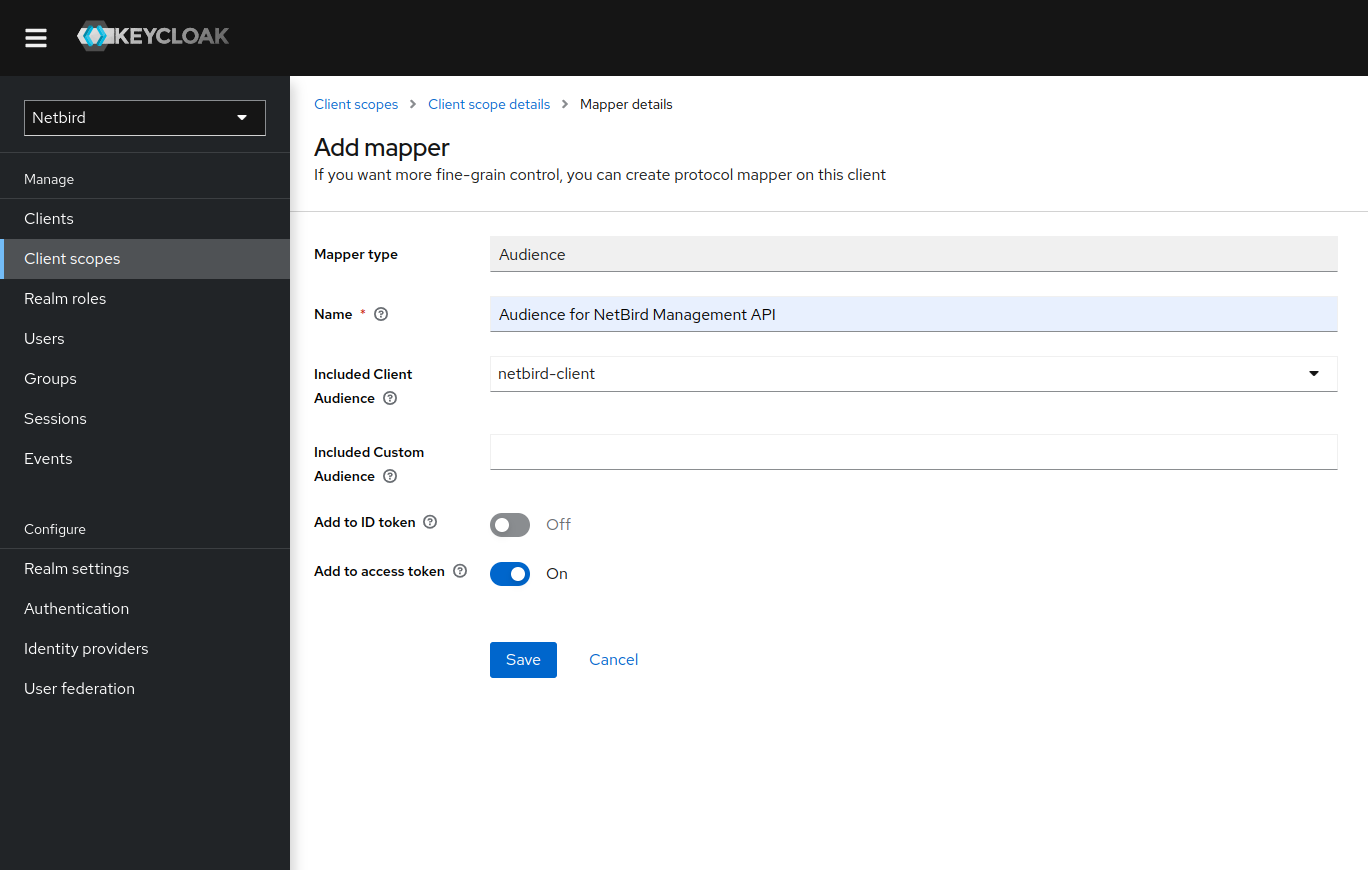
- Fill in:
- Name:
Audience for openZro Management API - Included Client Audience:
openzro-client - Add to access token:
On
- Name:
- Click Save
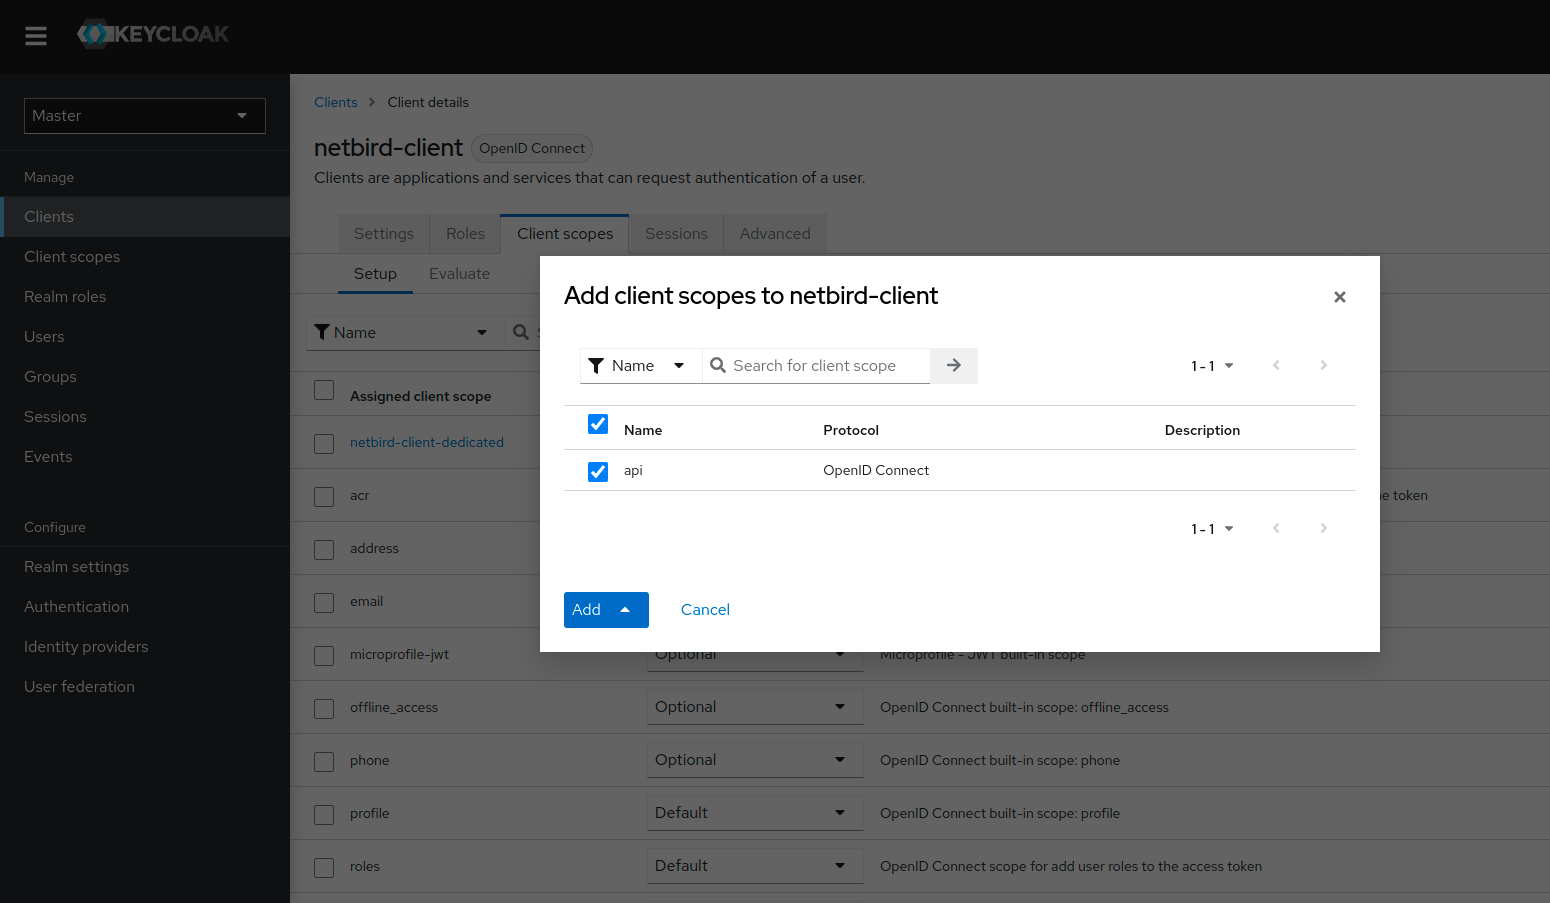
Step 7: Add Client Scope to openZro Client
- Go to Clients → openzro-client
- Switch to Client scopes tab
- Click Add client scope
- Choose
api - Click Add choosing
Default
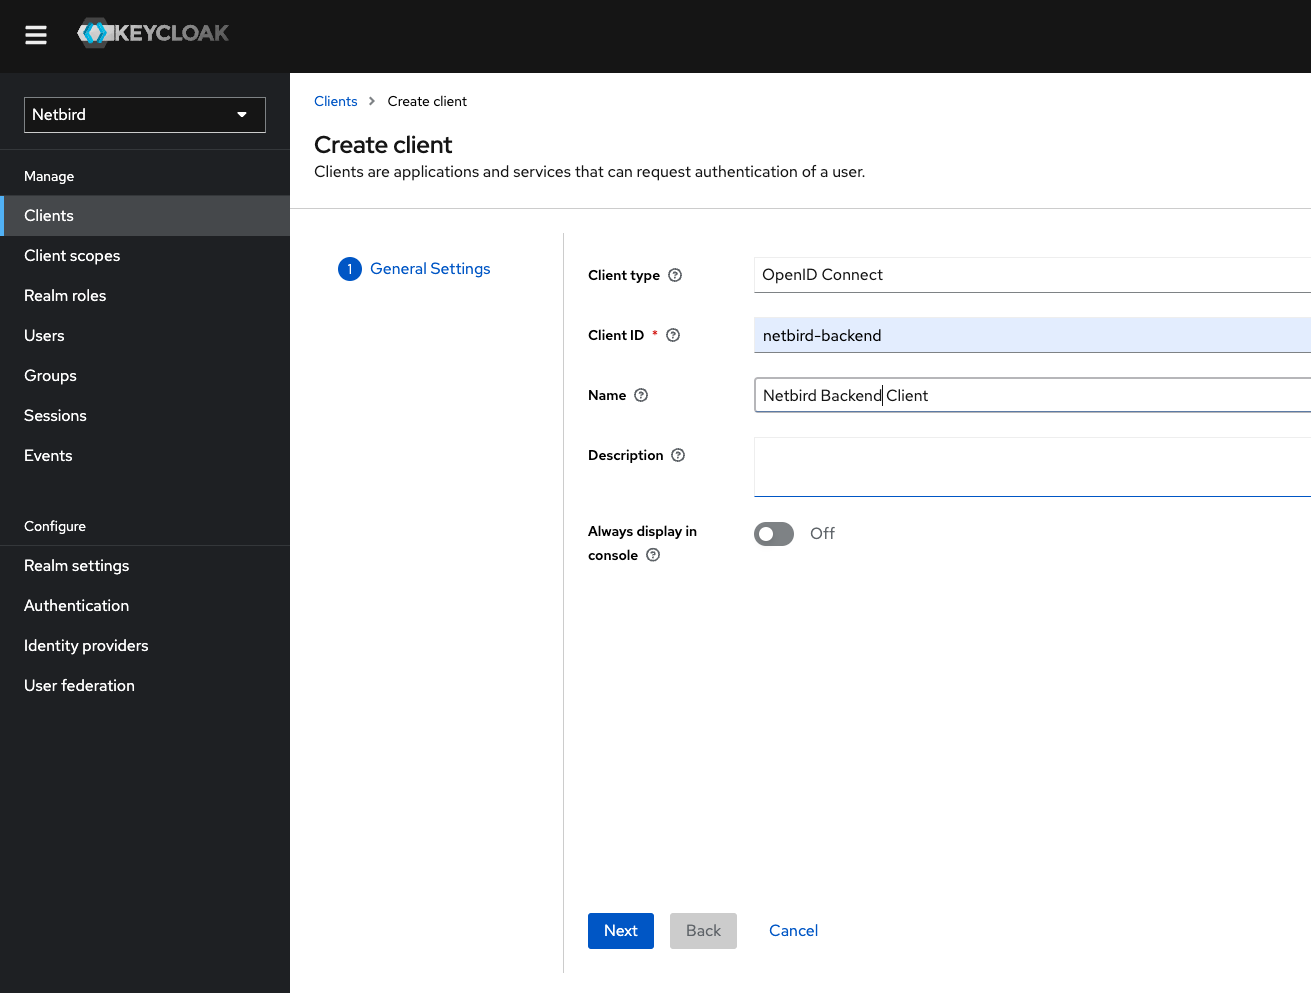
Step 8: Create openZro-Backend Client
- Click Clients → Create client
- Fill in:
- Client Type:
OpenID Connect - Client ID:
openzro-backend
- Client Type:
- Click Next
- Enable authentication as shown:

- Click Save
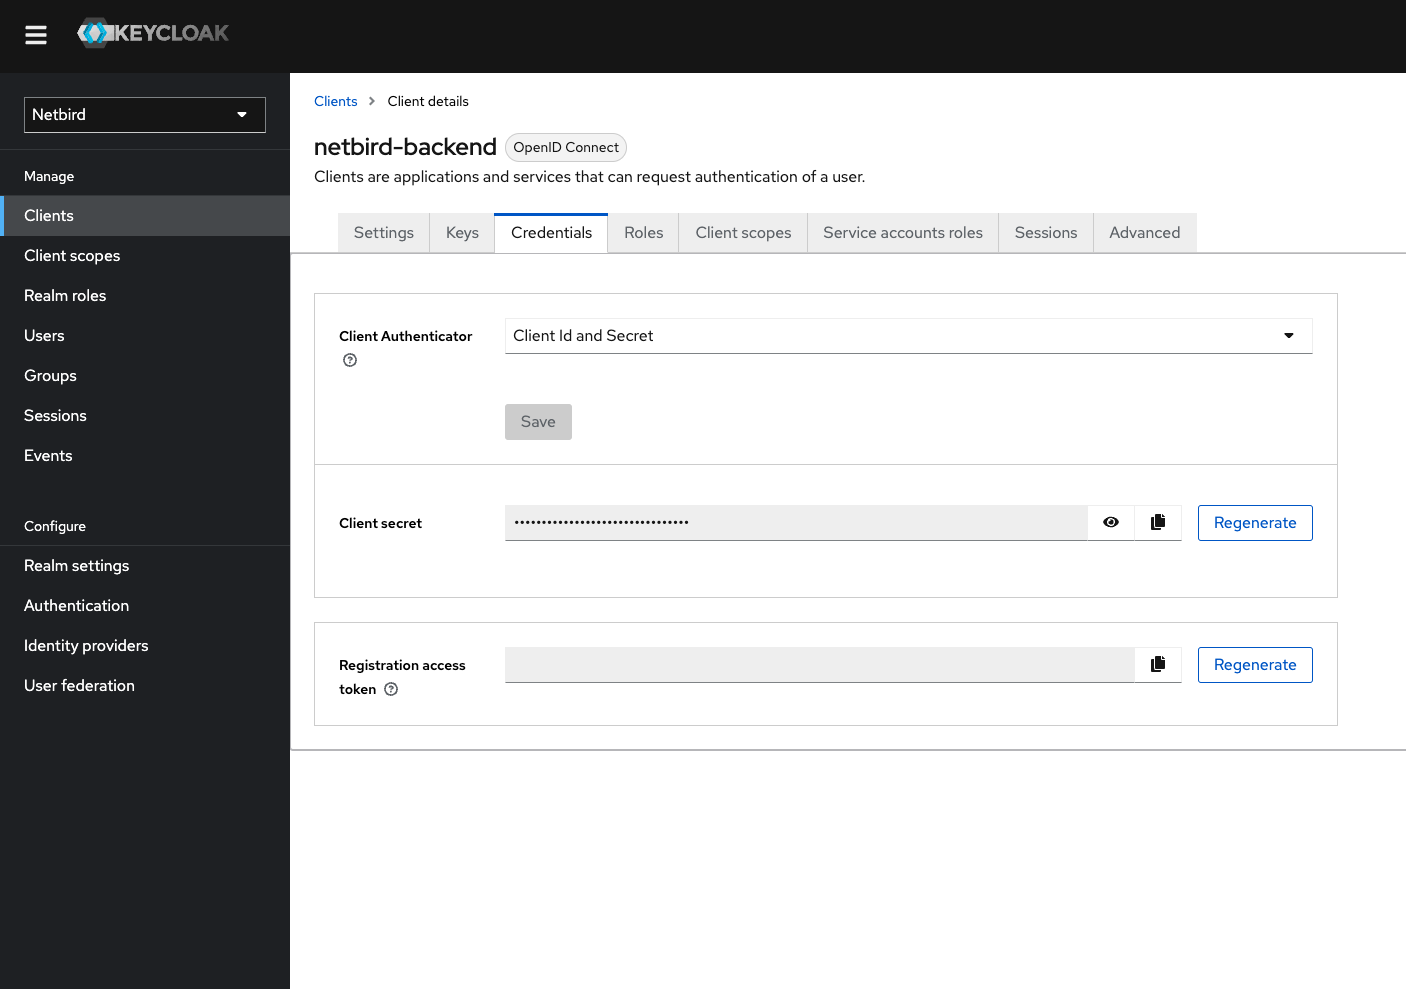
- Go to Credentials tab
- Copy the Client secret
Step 9: Add View-Users Role
- Go to Clients → openzro-backend
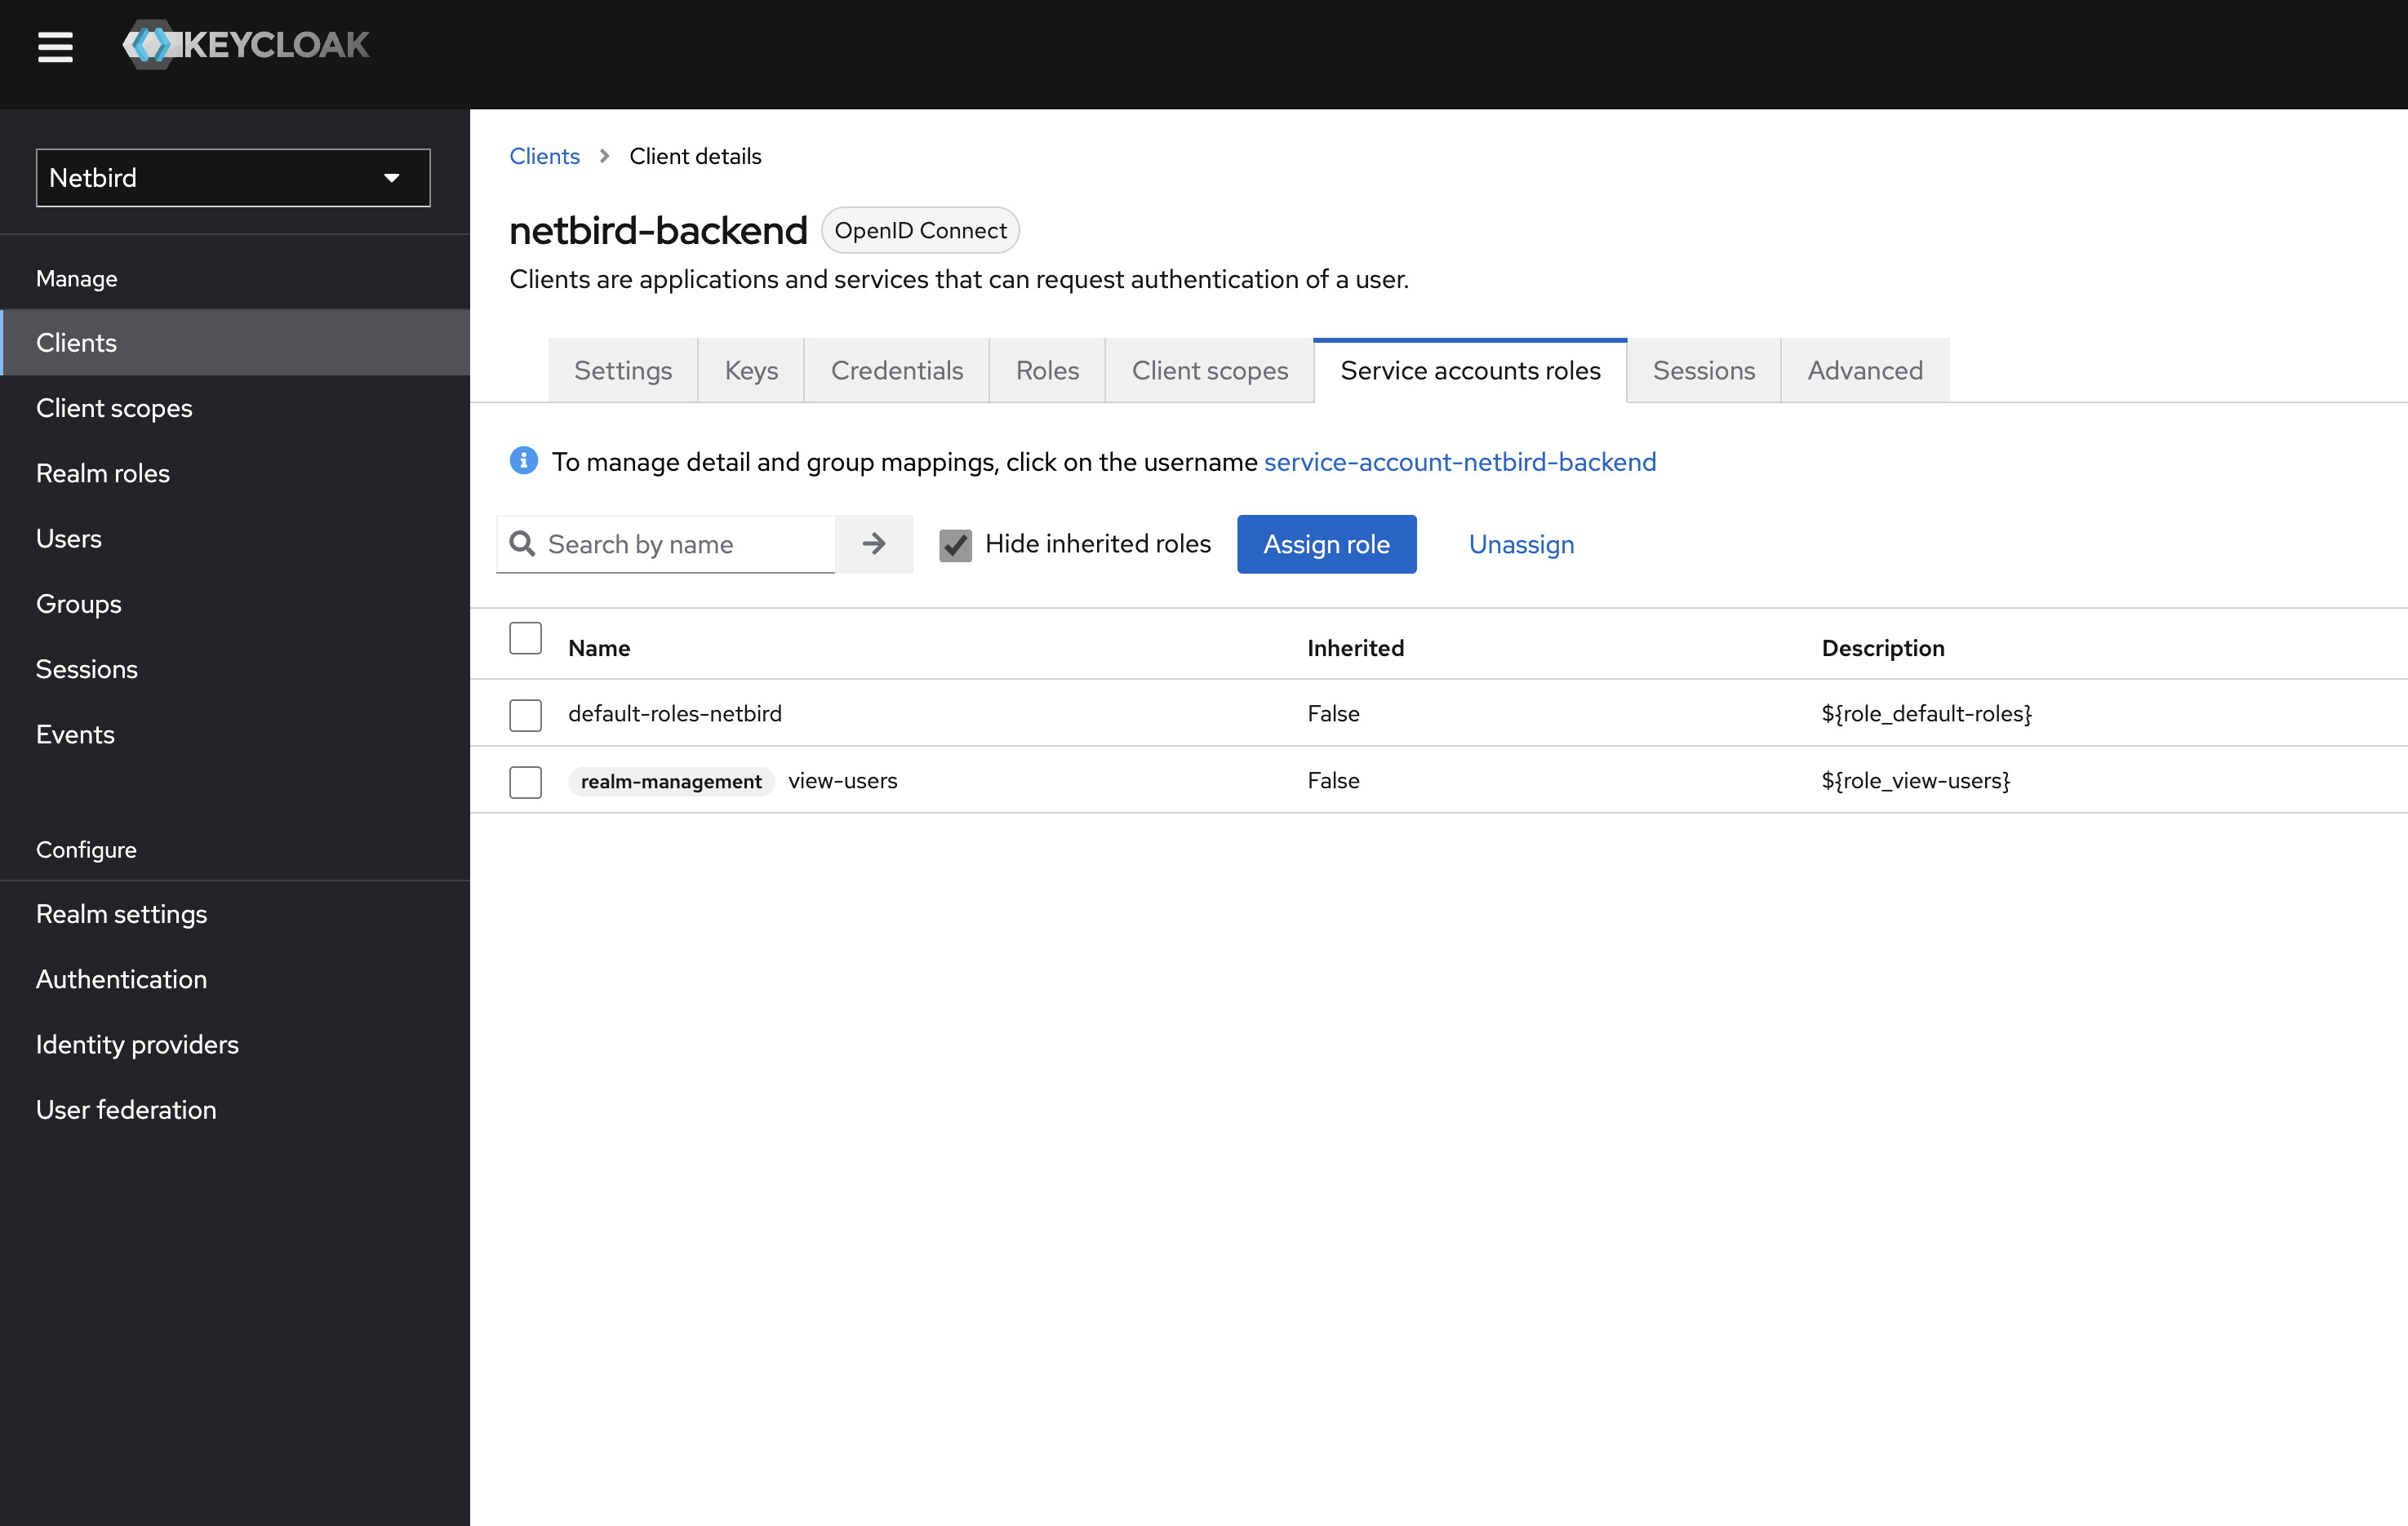
- Switch to Service accounts roles tab
- Click Assign roles
- Select Filter by clients and search for
view-users
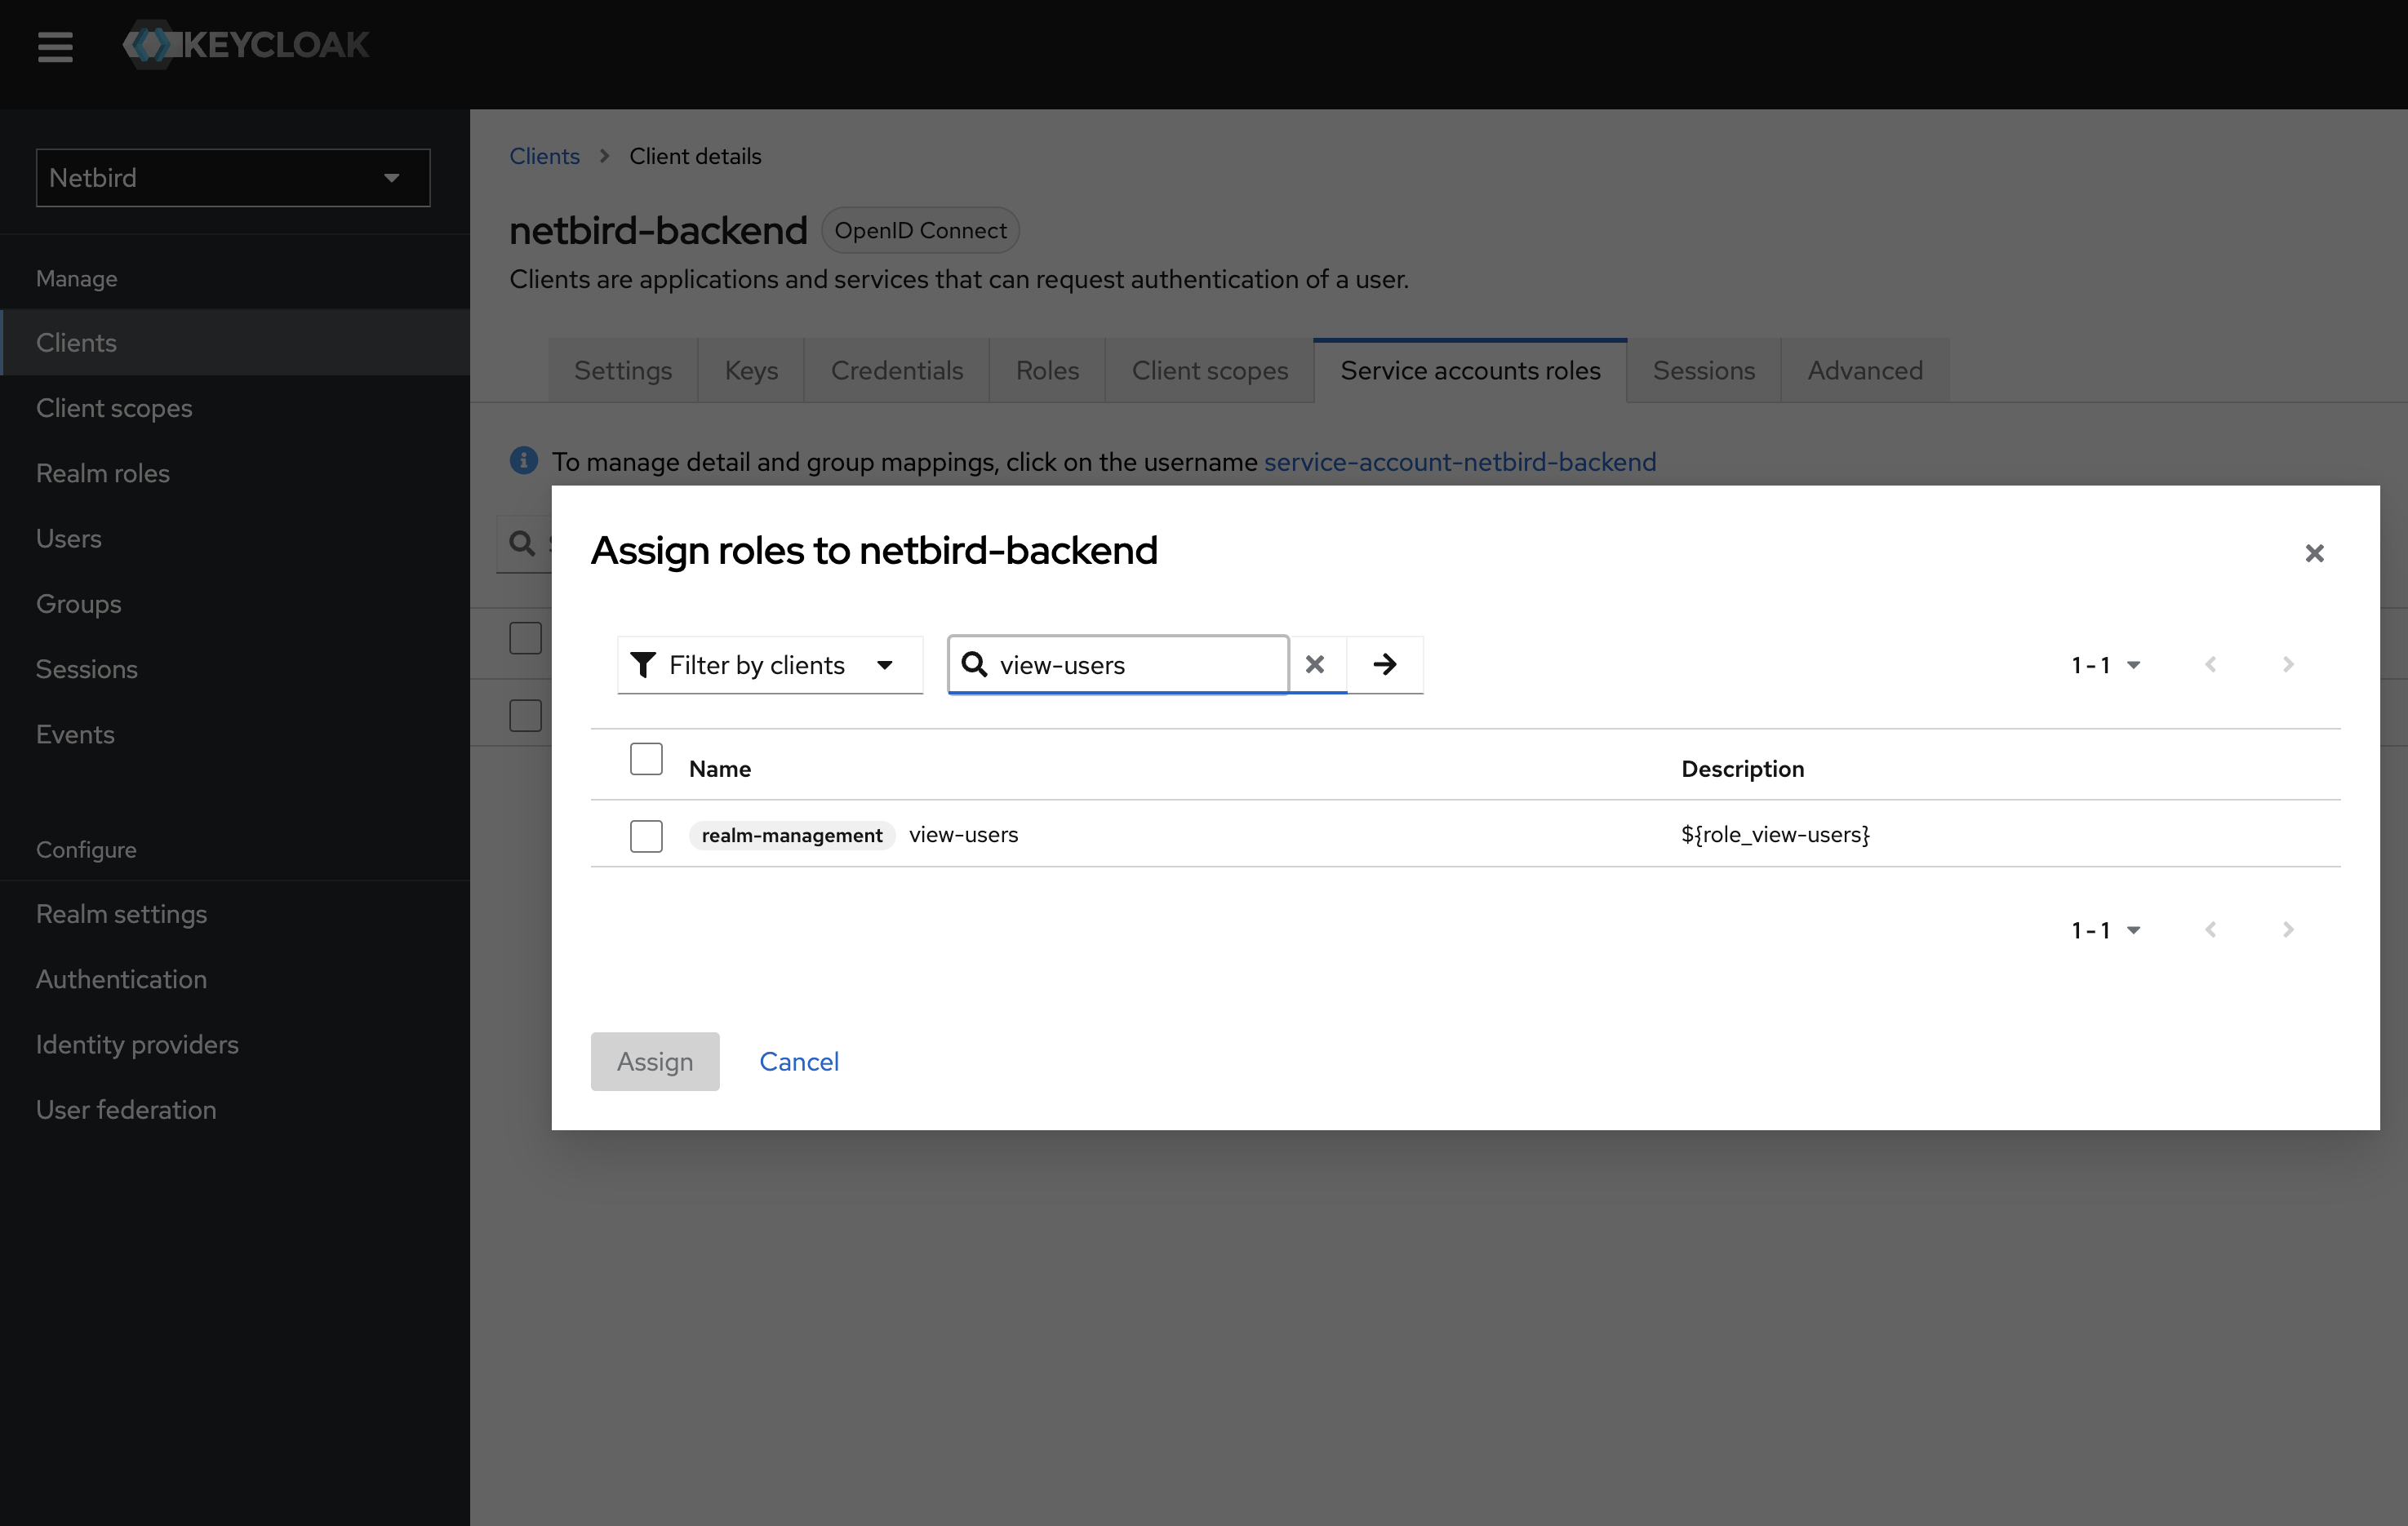
- Check the role checkbox and click Assign
Optional: To enable automatic user deletion from Keycloak when deleted from openZro, add the --user-delete-from-idp flag to the management startup command and assign the manage-users role instead.
Step 10: Configure openZro
Your authority OIDC configuration will be available at:
https://<YOUR_KEYCLOAK_HOST_AND_PORT>/realms/openzro/.well-known/openid-configuration
Double-check if the endpoint returns a JSON response by calling it from your browser.
Set properties in the setup.env file:
OPENZRO_AUTH_OIDC_CONFIGURATION_ENDPOINT="https://<YOUR_KEYCLOAK_HOST_AND_PORT>/realms/openzro/.well-known/openid-configuration"
OPENZRO_USE_AUTH0=false
OPENZRO_AUTH_CLIENT_ID="openzro-client"
OPENZRO_AUTH_SUPPORTED_SCOPES="openid profile email offline_access api"
OPENZRO_AUTH_AUDIENCE="openzro-client"

OPENZRO_AUTH_DEVICE_AUTH_CLIENT_ID="openzro-client"
OPENZRO_AUTH_DEVICE_AUTH_AUDIENCE="openzro-client"

OPENZRO_MGMT_IDP="keycloak"
OPENZRO_IDP_MGMT_CLIENT_ID="openzro-backend"
OPENZRO_IDP_MGMT_CLIENT_SECRET="<OPENZRO_BACKEND_CLIENT_SECRET>"
OPENZRO_IDP_MGMT_EXTRA_ADMIN_ENDPOINT="https://<YOUR_KEYCLOAK_HOST_AND_PORT>/admin/realms/openzro"
Make sure your Keycloak instance uses HTTPS. Otherwise, the setup won't work.
Step 11: Continue with openZro Setup
You've configured all required resources in Keycloak. Continue with the openZro Self-hosting Guide.
Troubleshooting
"Invalid token" errors
- Verify the issuer URL includes
/realms/your-realm - Ensure the client ID matches in both Keycloak and openZro
- Check clock synchronization between servers
Users not appearing in openZro
- Verify the backend client has
view-usersrole